Tips And Tricks For Applying T-Molding To Your Arcade Cabinet Kit
In a hurry? Watch the video at the bottom of this article on how to install the T-molding.
T-molding is a versatile and essential component used predominantly for arcade cabinet panels. It is a type of edge trim that features a T-shaped profile, which is inserted into a groove cut along the edges of the panels. This edge trim serves both functional and aesthetic purposes, making it a popular choice for DIY arcade enthusiasts.
One of the primary benefits of T-molding is its ability to provide a polished and professional finish to the edges of arcade machine panels. The smooth, rounded edges not only enhance the visual appeal but also offer a crucial role in protecting the arcade machine from wear and tear. The edges of the arcade panels are particularly susceptible to damage from frequent use and handling. T-molding acts as a buffer, absorbing impact and preventing the edges from chipping or fraying. This added layer of protection extends the lifespan of the arcade machine, ensuring it remains in top condition for years to come.
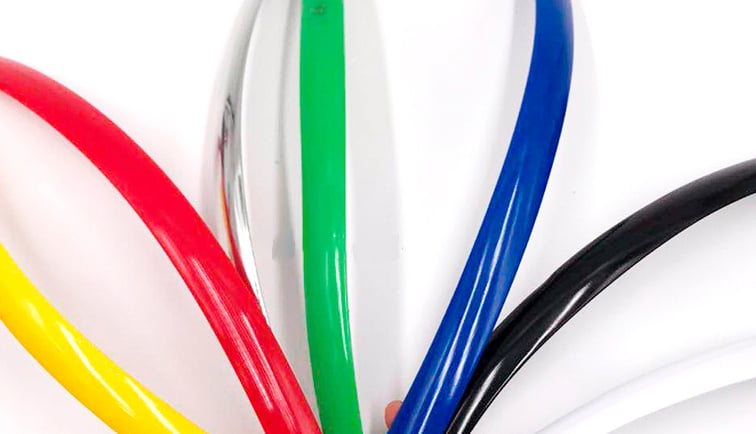
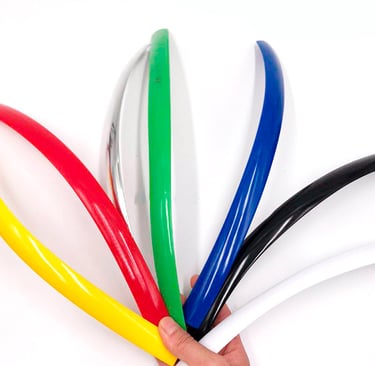
There are a wide variety of T-molding options available on the market, and in different materials, such as plastic, rubber, and metal. Each offering distinct advantages in terms of durability and flexibility. Sizes also vary, enabling users to choose the appropriate width and thickness to fit their specific arcade panel dimensions.
The most popular T-molding used for arcade machine panels is made from plastic. If you are purchasing one of our arcade cabinet kits, you need to use a 3/4” (19mm) or 1/2” (12.7mm) T-Molding, that fits a 1/16” (1.58mm) slot. The width will depend on the arcade kit you purchase, but every listing specifies which width you will need to buy and the length needed.
T-Molding Installation
We have done the hard work for you by cutting the grooved slots to all the visible edges of the arcade machine kits we sell.
Begin by ensuring that the pre-cut slots on your panels are clean and free of debris. This will allow the T-molding to fit securely and reduce the likelihood of any alignment issues.
Start the installation by inserting the T-molding into the pre-cut slots. Position the T-molding so that the barb, or the central fin, fits snugly into the groove. It is important to check that the molding is aligned properly along the length of the slot. Gently tap the T-molding into place using a rubber mallet or a hammer wrapped in a protective cloth. This will prevent the molding from being damaged while ensuring it is securely seated.
When approaching corners and curves, the process requires a bit more finesse. To handle these areas, make small relief cuts on the T-molding's barb when inserting into inside curve bends. These cuts should be spaced approximately an inch apart and will allow the molding to bend more easily around tight corners and curves without buckling or kinking.
For outer curves and bends, make a V or U shaped incision and remove this part of the barb. This will stop the barb from butting up against each other on the bend. When going around the curves and bends, give the T-moulding a slight tug and take your time with this part of the installation to ensure a smooth, professional-looking finish.
Once the T-molding is fully installed along the panel edges, attention should be given to securing the ends. To prevent the T-molding from coming loose over time, consider using a strong adhesive. Apply a small amount of adhesive to the ends of the T-molding and press it firmly into place. Ensure the adhesive sets properly before moving the panels to avoid any misalignment.
There is an excellent video from Retro Active Arcade, based in Canada. We recommend watching this video from start to finish at least a couple of times before you attempt to install the T-molding into the panels.
© 2025 Knockout Arcades All Rights Reserved
Dust Shack Ltd T/A Knockout Arcades